
Each piece we create is much more than just a decorative object: it is the result of a craftsmanship that combines cutting-edge technology, artisanal precision, and a love for natural wood. To offer you unique and durable creations, we follow a meticulous process where every step is essential. Here’s how our artworks come to life — from raw wood to your wall.
 Step 1 – Designing the Artwork
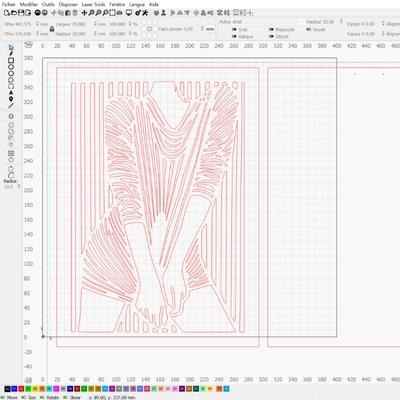
It all starts with the design. Each Woodillusion artwork is first drawn or digitally refined, depending on the model. This stage requires precision and creativity — it’s where the balance between shapes, details, and depth is born. The design must be technically feasible and laser-compatible. Every line matters, as it will guide the wood cutting and engraving process.
 Step 2 – Selecting the Wood
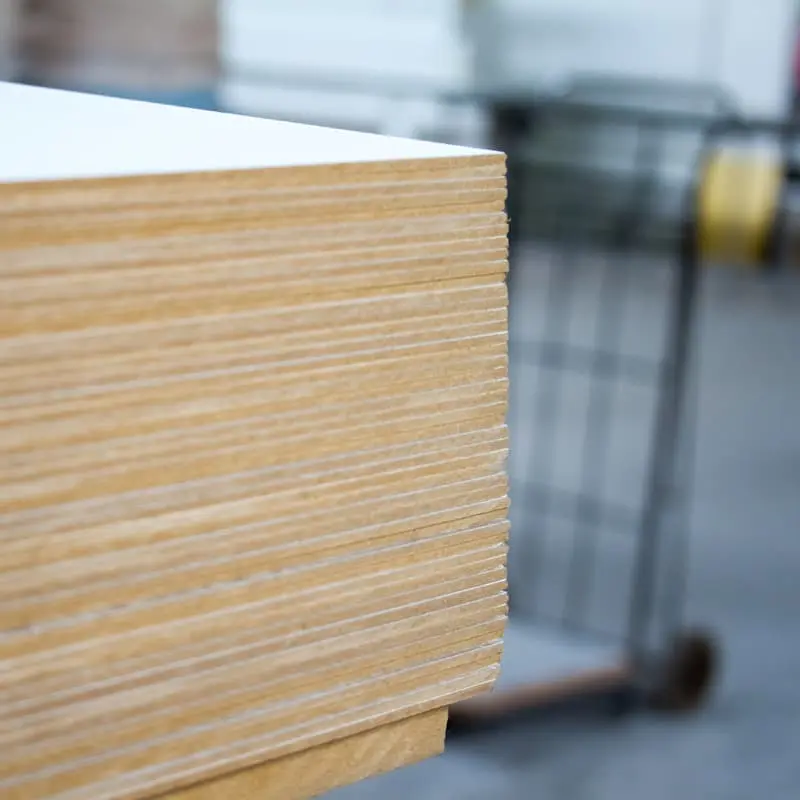
Upstream, we carefully select our poplar plywood panels — a light-colored, soft, easy-to-work yet highly resistant wood. Each sheet is individually inspected upon arrival in our workshop:
-
Visual appearance: checking for knots, cracks, or stains that could affect the final look.
-
Flatness: ensuring the panel isn’t warped, which could impact cutting precision.
-
Consistent thickness: essential for a clean, even laser cut.
 Step 3 – Quality Control and Pre-Cut Preparation
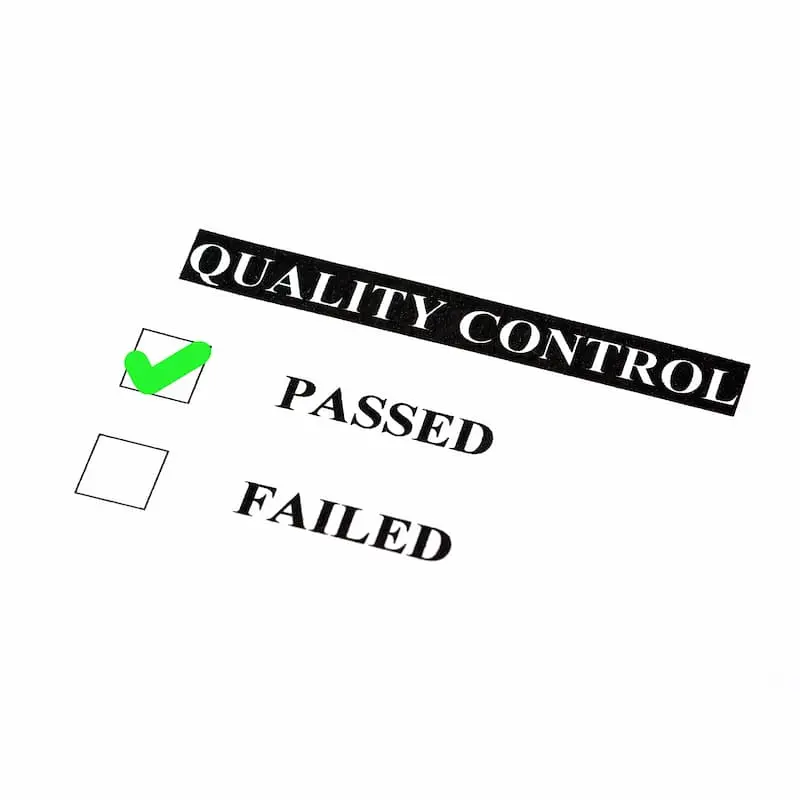
Before cutting begins, each panel is checked, sanded, and cleaned if necessary. This step ensures a clean, precise, and flawless result.
 Step 4 – The Magic of Laser Precision
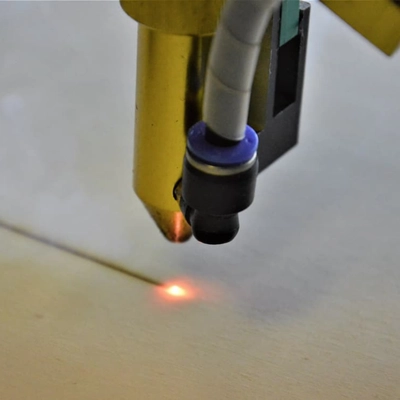
Once the design is finalized, precision takes over. The poplar wood — sourced from sustainable European plantations — is cut and engraved using a high-precision laser machine. This stage reveals the reliefs, textures, and details of the design with remarkable finesse, while preserving the wood’s natural essence.
Here’s how it works:
-
A high-precision laser beam (around 0.1 mm — the width of a human hair) is directed by a motorized arm.
-
The laser heats and vaporizes the wood with extreme precision, producing clean cuts and intricate shapes impossible to achieve by hand.
-
Each piece is cut without physical contact, preventing deformation or mechanical stress.
This process is handled by a specialized partner equipped with industrial-grade machinery. Once completed, the laser-cut pieces are delivered to our workshop for the next steps.
 Step 5 – Reception, Sorting, and Post-Cut Inspection
Each piece is manually received, sorted, and inspected to ensure:
-
No defects,
-
Full conformity with the original design file.
Non-conforming parts are discarded and, if necessary, remade.
Step 6 – Manual Sanding (if needed)
Some areas require light manual sanding. This process smooths the edges, removes excessive burn marks from the laser, and ensures a perfectly clean finish. A subtle yet essential step that gives the piece its pleasant touch and refined appearance.
 Step 7 – Painting the Background
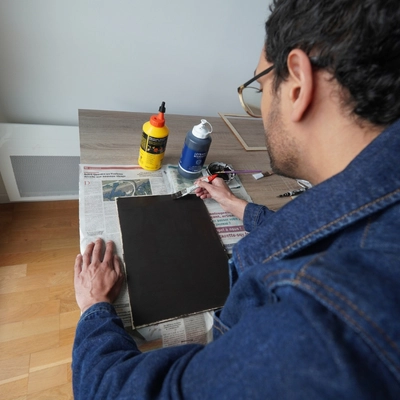
Before assembly, the background is hand-painted with two layers. Depending on the model, I choose natural, soft, or contrasting tones to highlight the wood’s details. Each layer is applied carefully to ensure a smooth, long-lasting finish. This painted background adds depth and contrast to the final artwork.
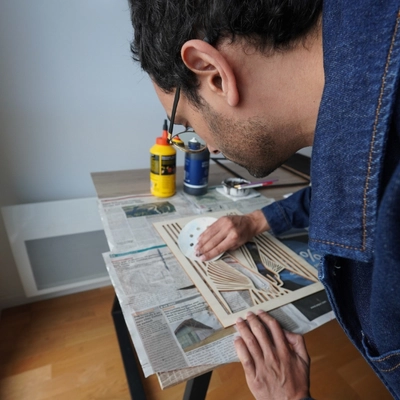
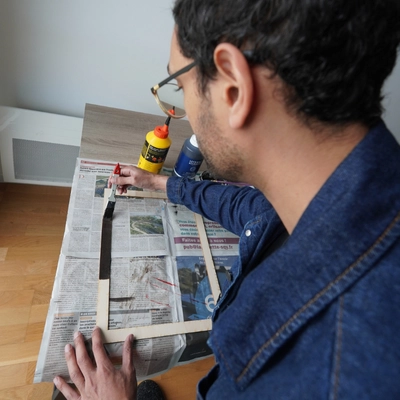
Step 8 – Applying the Glue
Once all parts are ready, glue is manually applied to the contact areas. It’s a delicate step — the amount must be precise to ensure a solid bond without visible overflow. Patience and accuracy are key to achieving perfect alignment.
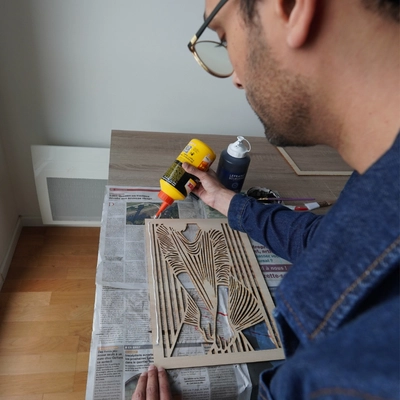
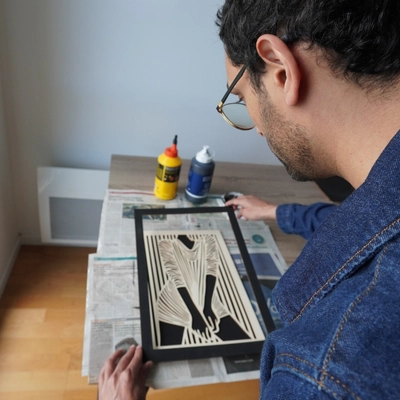
Step 9 – Assembling the Background
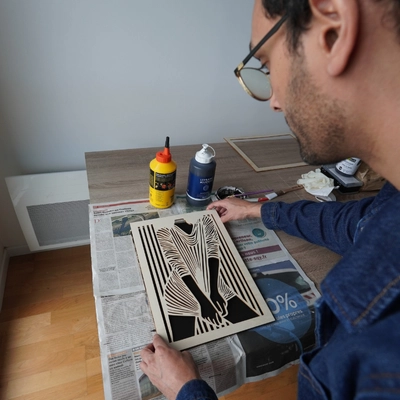
The painted background is then carefully glued to the main laser-cut panel. This union between raw material and color brings the piece to life. Even pressure is applied across the surface to ensure perfect adhesion, followed by drying under maintained pressure for optimal durability.
Step 10 – Painting the Frame (optional)
For models with a frame, it is hand-painted in a matching or contrasting color depending on the style. I use high-quality paints with a matte, natural finish to preserve the spirit of the artwork. This step further personalizes each creation.
Step 11 – Gluing the Frame (optional)
Once the frame paint is dry, it is glued around the artwork with perfect precision and alignment. Pressure is applied during drying to achieve a clean, solid, and professional finish.
Step 12 – Attaching the Wall Hook
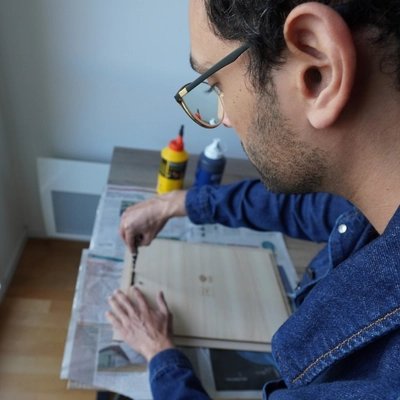
Each piece is equipped by hand with a metal wall hook, centered and firmly screwed to ensure a safe and durable suspension.
Step 13 – The Final Artwork
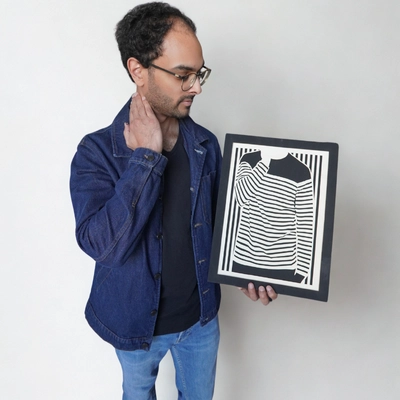
The Woodillusion artwork is finally complete! (The previous model was still drying.)
 Step 14 – Packaging and Shipping
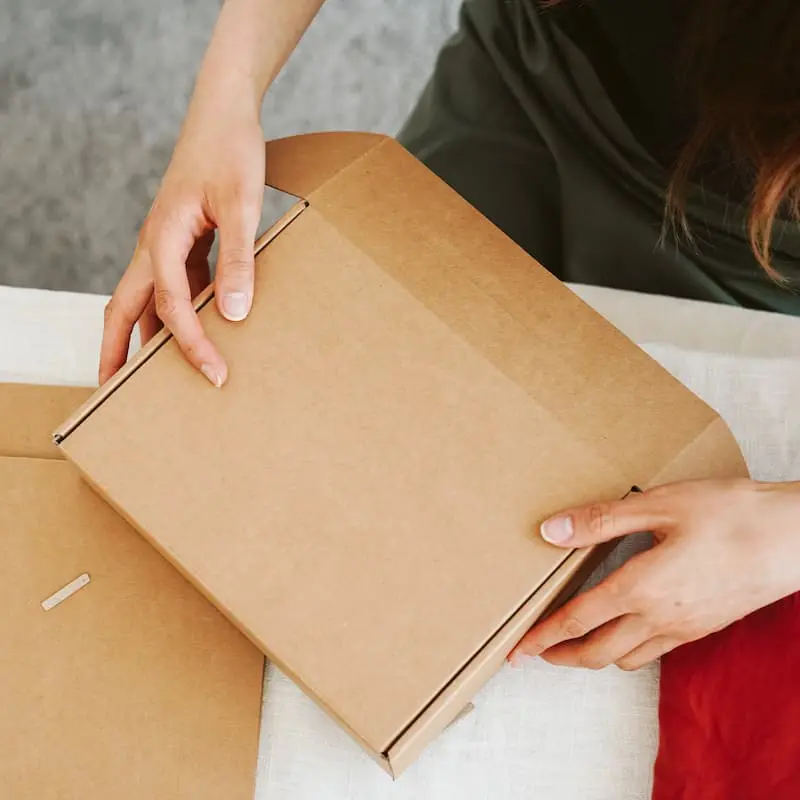
Once complete, each artwork is carefully:
-
Cleaned and inspected one last time,
-
Packed in protective materials, often recycled or recyclable.
The order is then shipped via a trusted carrier, chosen based on destination, to ensure fast and secure delivery.

Estimated Production Time
Here’s an estimate of the typical production timeline (excluding peak periods):
| Step | Estimated Time |
|---|---|
| Order processing and transmission | 24–48 business hours |
| Laser cutting by our partner | 3–5 business days |
| Transport to our workshop | 3–5 business days |
| Inspection, painting, drying, assembly, finishing | 5–7 business days |
| Packaging and shipping | 2–4 business days |
| Total estimated time | 15–20 business days |
 An Artwork for Your Walls
Each creation is a meeting point between natural materials, cutting-edge technology, and human craftsmanship. By taking the time to do things right, we ensure every decorative piece is unique, elegant, and built to last — ready to enhance your interior with warmth and character.